Getting started with Pricely
Pricely helps you quote, invoice, and get paid from one workspace. This guide gets you from zero to your first sent quote.
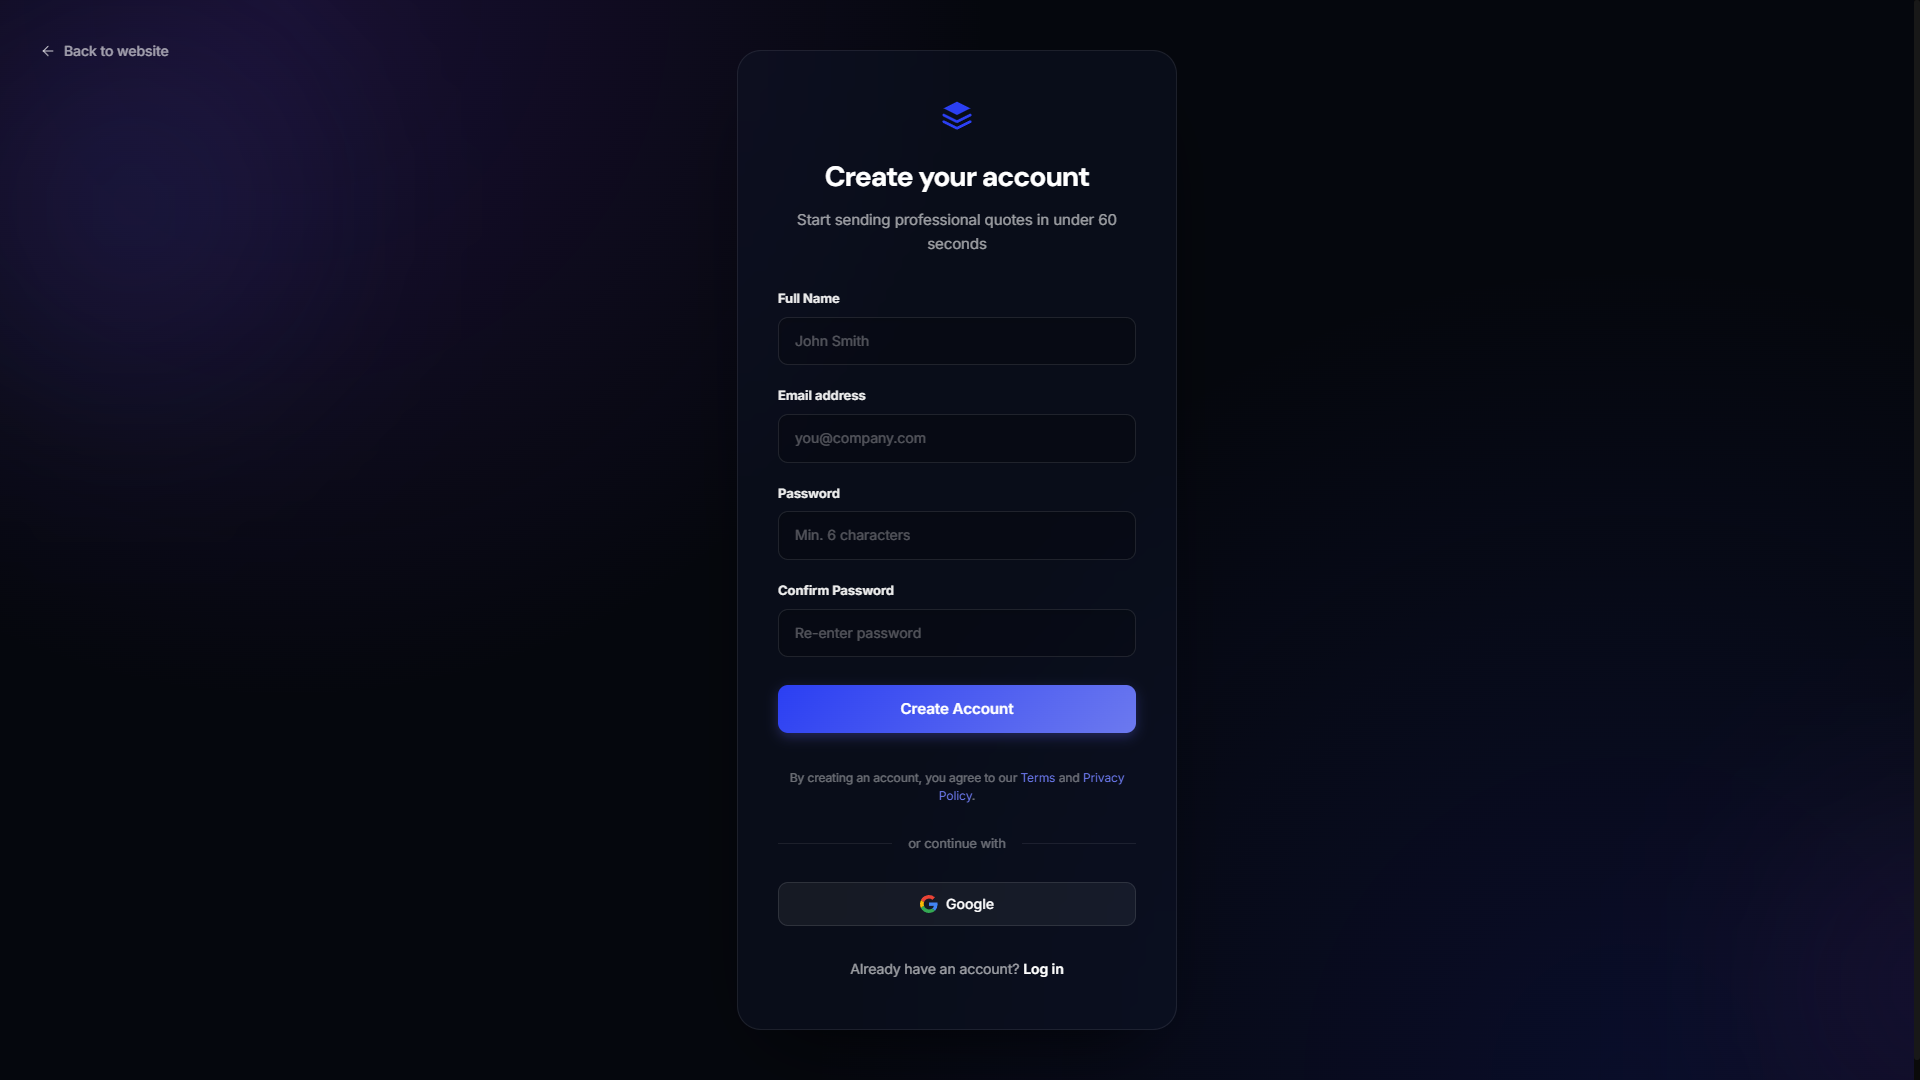
1. Create an account
Go to pricely.me/sign up. You can register with email or continue with Google.
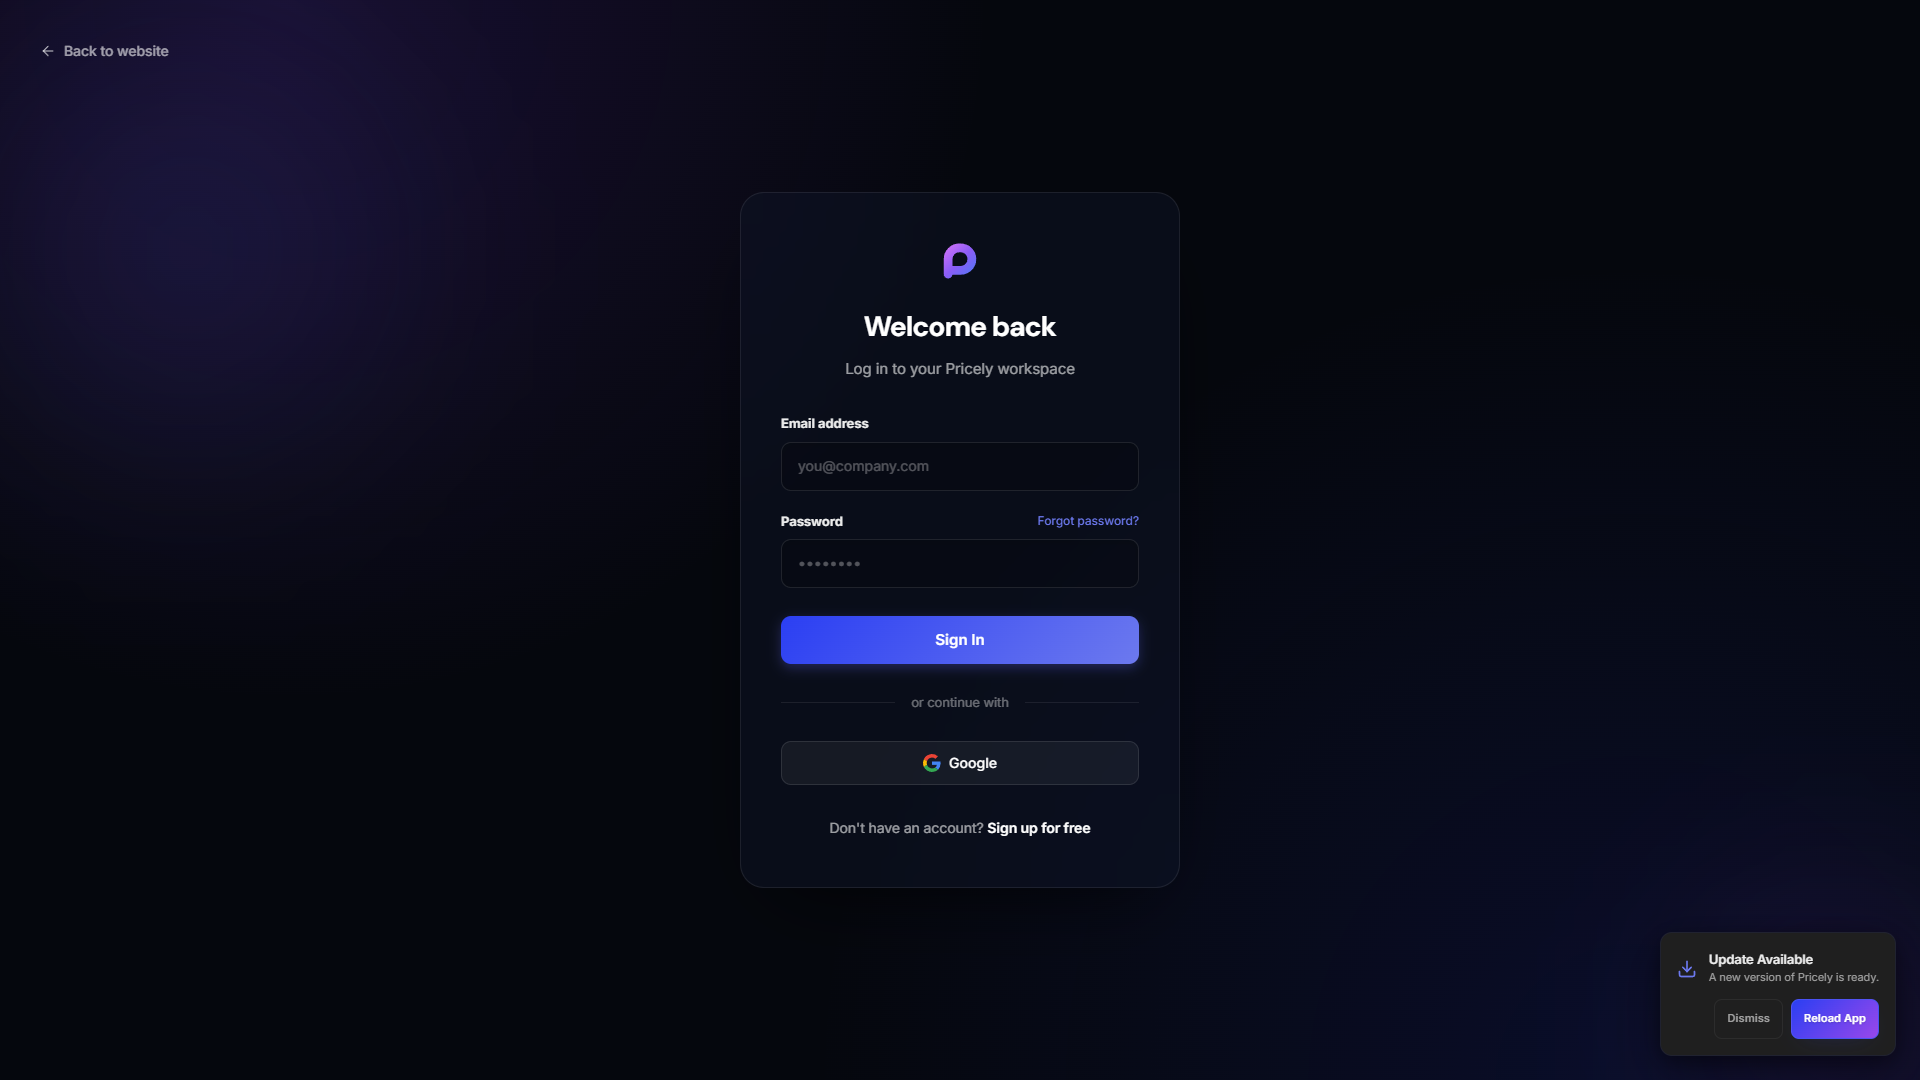
2. Log in
Returning users sign in at pricely.me/login.
3. Complete onboarding
After your first login, Pricely walks you through business name and currency. Optional fields can be filled later under Settings.
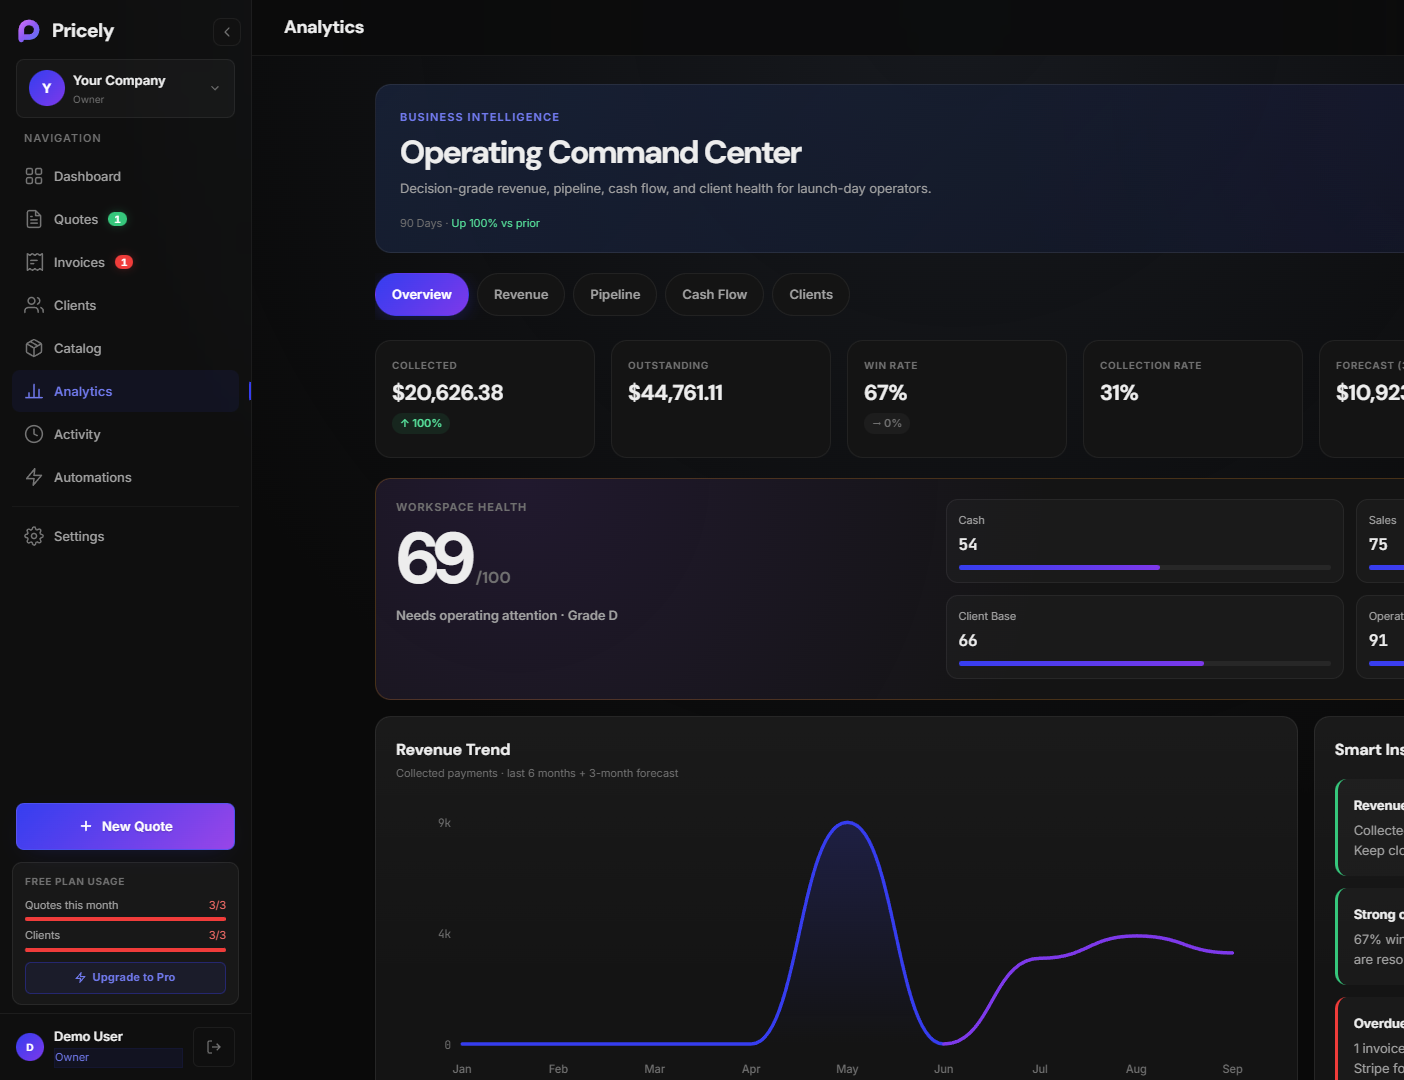
4. Explore your workspace
The sidebar is your home base — Quotes, Invoices, Clients, and more. The dashboard and analytics views show revenue, pipeline, and usage.
5. Add a client and send a quote
- Open Clients and create your first client (name + email is enough).
- Follow Create a quote, then send it.
Free plan: You can create up to 3 quotes per month and manage 3 clients at no cost. Upgrade anytime from Pricing.